§ How-To
How to Wind a Trimmer Spool (Single & Dual Line)
Step-by-step: load new line onto a single- or dual-line spool so it feeds without jamming.
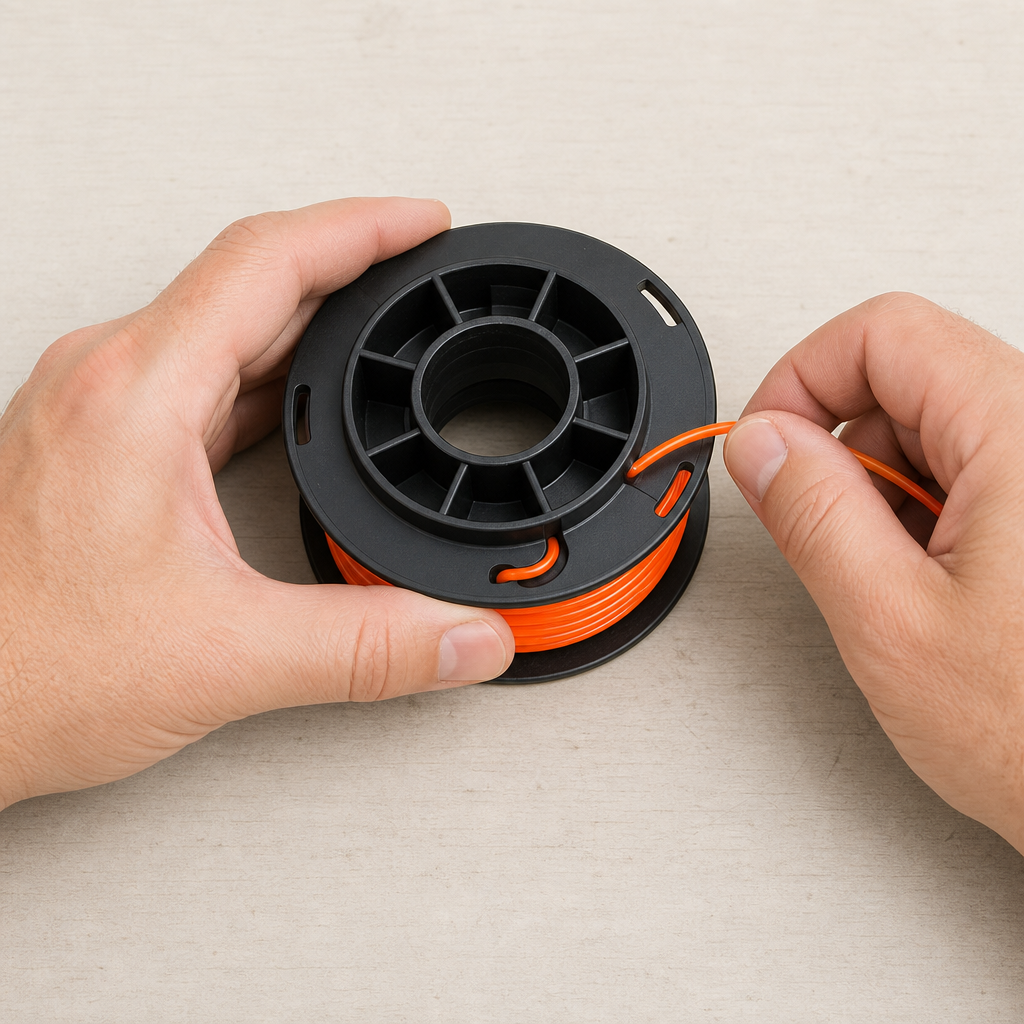
Re-loading a spool yourself is cheaper than buying pre-wound ones and takes about two minutes once you know the trick.
1. Match the line
Check your trimmer’s manual for the right diameter (commonly 0.065”, 0.080”, or 0.095”). Using line that’s too thick is the #1 cause of feed jams. Cut about 10–20 ft.
2. Find the arrow
Every spool has a molded arrow showing the wind direction. Winding the wrong way means the line will never feed. Anchor the line end in the notch or hole at the hub.
3. Wind tight and flat
Wind in even, tight layers in the arrow direction. Overlapping or loose coils cause the line to weld together under heat and stop feeding. For dual-line spools, keep the two lines in their separate channels.
4. Park the ends
Leave 4–6 inches loose and hook each end into the retainer notches so it doesn’t unravel while you reinstall. Thread the ends through the eyelets on the head, snap the spool back in, and pull to release.
When to just buy pre-wound
If you go through more than a spool a week, pre-wound replacements are worth the time saved. Browse spools that fit your trimmer by brand.